Label Adhesion on Textured Rubber and Metal Rims: What Actually Sticks
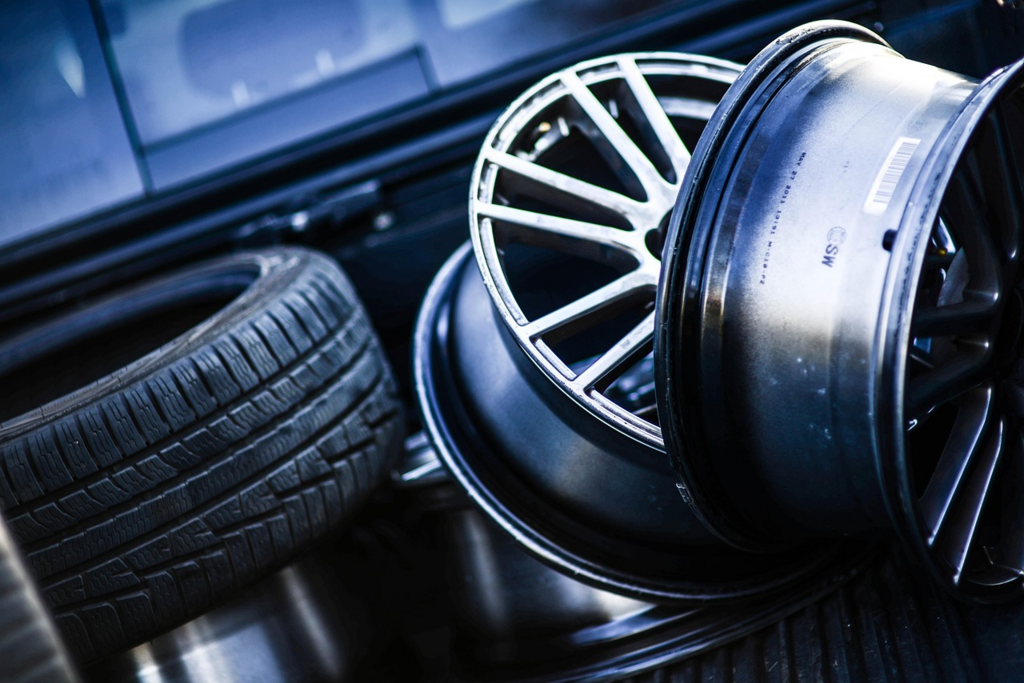
Labels fail on tires and rims for two reasons: the surface is hard for adhesives to “wet out,” and the texture creates tiny air gaps that kill contact. What actually sticks is a thicker, conformable pressure-sensitive adhesive paired with the right prep and enough application pressure and dwell time. Here’s the practical playbook.
In This Article:
Why tires and rims reject most labels
Rubber compounds in tires (plus mold-release residues and antiozonant “bloom”) present a low-surface-energy target. Standard film labels with thin adhesives can’t flow into the peaks and valleys, so they grab at first and then lift. Rims are often powder-coated or clear-coated metal. While bare aluminum is high energy, coatings introduce micro-texture and contamination that behave more like medium- to low-energy surfaces.
Texture also matters. Deep grain or tire sidewall lettering reduces the true contact area. A thin adhesive bridges only the tops of the texture; vibration, moisture, and heat cycles work underneath and pry the label off.
Build the label for rough or low-energy surfaces
Start with a soft, higher-cohesion PSA in the 3–5 mil range to promote “cold flow” into texture. For maximum initial tack on inert or rough rubber, rubber-resin systems are common; for outdoor durability, solvents, and UV, look first to modified acrylics designed for low-surface-energy substrates. If the texture is pronounced, a thin foam carrier can help the adhesive conform without telegraphing gaps.
When you need a ready shortlist, evaluate purpose-built pressure-sensitive label adhesives on your exact rubber compound and rim coating. Match adhesive family to the environment (UV, cleaners, road salts) and temperature range.
Prep and application that actually holds
Cleanliness is non-negotiable. Wipe away road film and silicone residues; a two-step clean (isopropyl alcohol to remove polar soils, then a fast-flashing aliphatic solvent where safe) improves wet-out. Let surfaces dry completely. On coated rims, a light scuff with a fine non-woven pad increases micro-contact; on tire sidewalls, avoid aggressive abrasion and rely on cleaning and—if permitted—an adhesion promoter compatible with the compound.
Apply above the adhesive’s minimum temperature (typically ≥15 °C). Use firm, even pressure with a roller or squeegee to expel air and drive the adhesive into texture. Avoid touching the adhesive, and allow 24–72 hours of dwell before harsh service so the bond can build.
Prove it with a quick peel test
Don’t guess—test on your substrates. Place 1-inch strips on an unused tire sidewall and on a coated rim sample. Record peel after 20 minutes and again after 24 hours; bond strength should rise as the adhesive wets out. If you need a reference method, the ISO 29862 peel-adhesion test describes standardized procedures for measuring PSA peel from defined panels; adapt the approach to your actual rubber and rim materials for comparative results.
When to change the recipe
If labels still lift on rubber: step up adhesive thickness, switch to an LSE-rated acrylic or high-tack rubber system, and increase application pressure. If failure occurs on rims after washes or wheel-cleaner exposure: prioritize a chemically resistant acrylic, consider an edge-seal on the label perimeter, and verify that powder-coat gloss/texture hasn’t changed the target to “medium energy” that needs a different tack/flow balance.
Bottom line
For textured tires and coated rims, choose a thick, conformable LSE-capable PSA, prep meticulously, apply with pressure, and validate with a quick peel check before rolling it out fleet-wide.